

Customer loyalty and more conversions through individual layers (pop-ups, exit-intents, etc.) depending on user action and integration
„Simply“ acquire more customers who are already there and interested, BUT (not yet) making an inquiry. The solution? So-called layers that intelligently appear over, next to, or in front of the content depending on user behavior, thus gaining full attention. Most people know these as pop-ups or exit intents. However, this often annoying advertising technology is enormously effective and generates up to 30% and more leads, sales, and contacts.
As an online marketing agency, we have developed a concept that can be easily integrated technically and thus works on ALL websites and online shops.
Our layers work with all content management systems, shop systems, and scripts!

Simple one-time integration and professional design for maximum conversion possible through us!
Layer & PopUp Examples from Our Customers & Partners
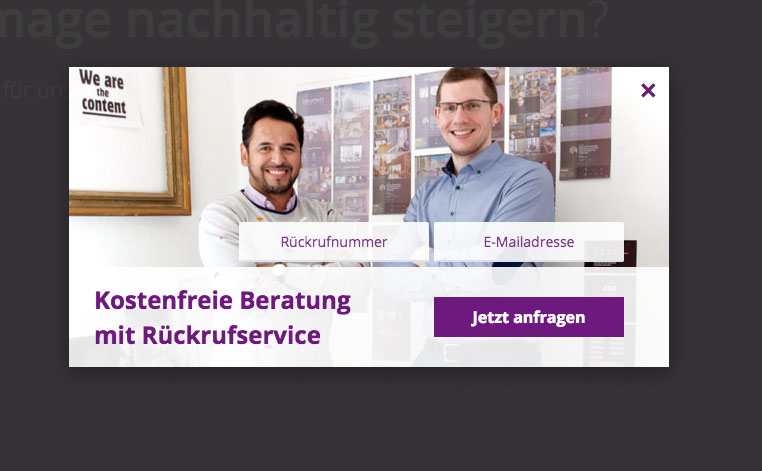
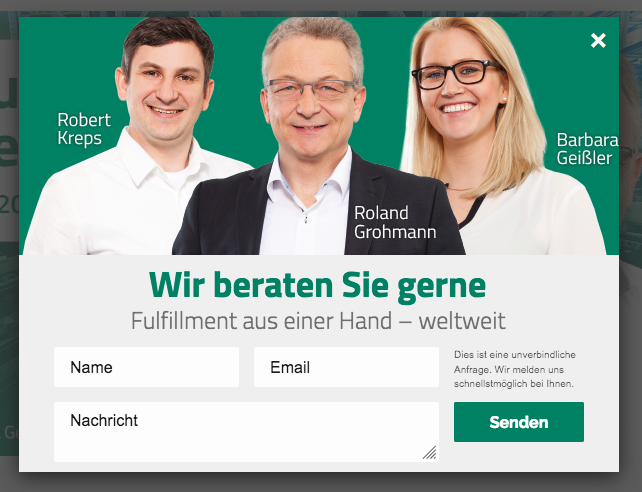
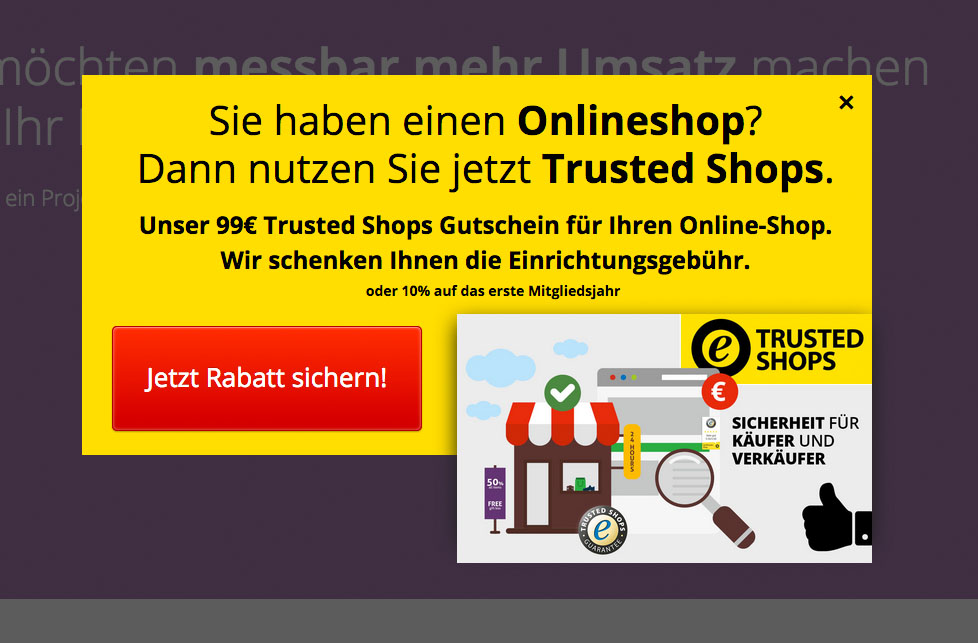
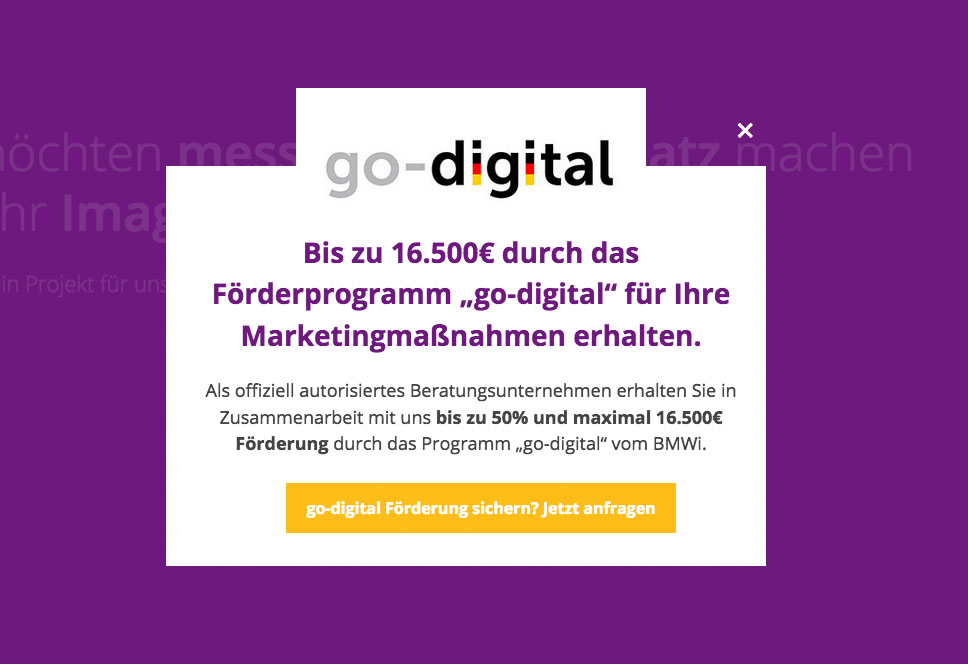
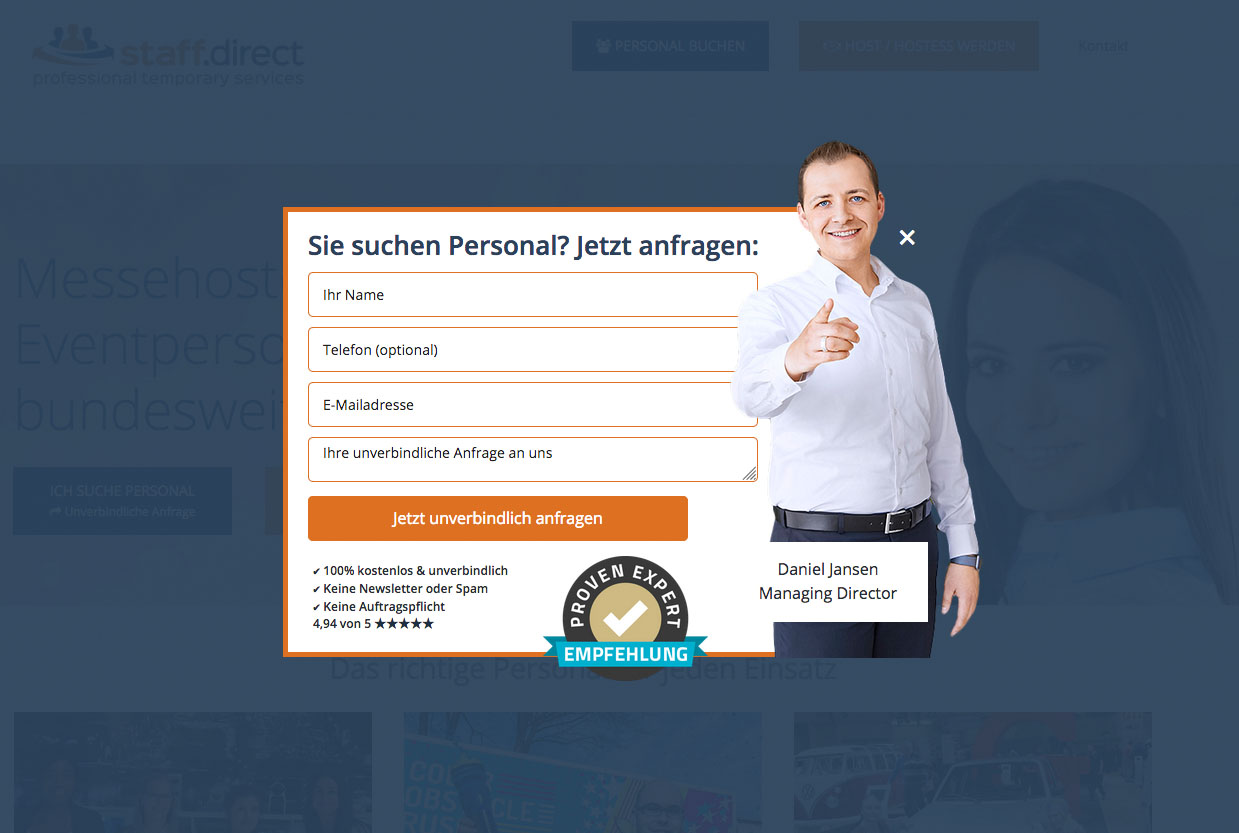
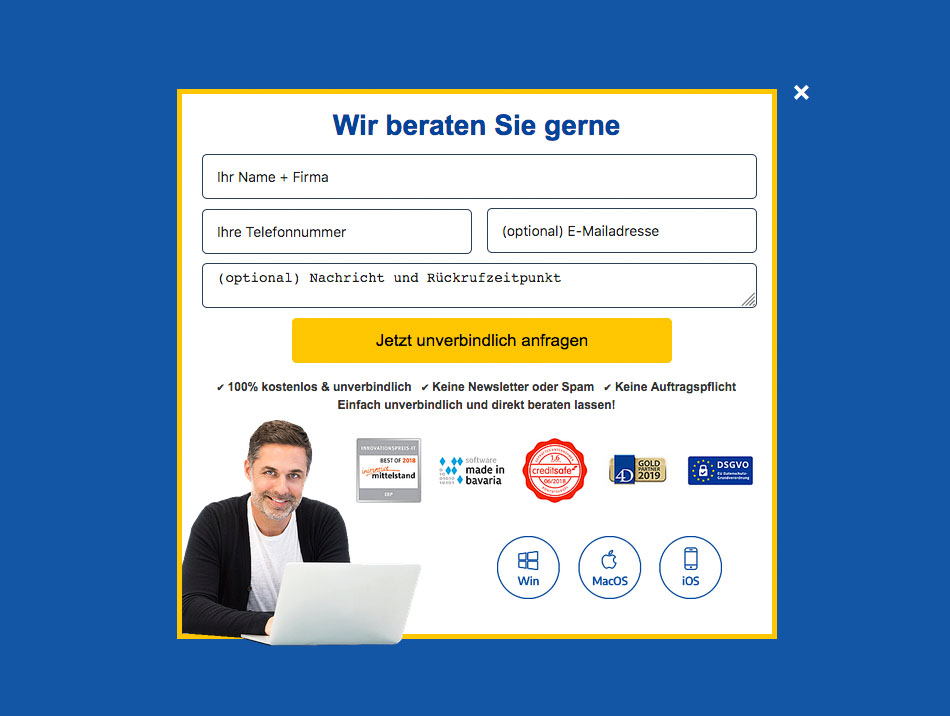
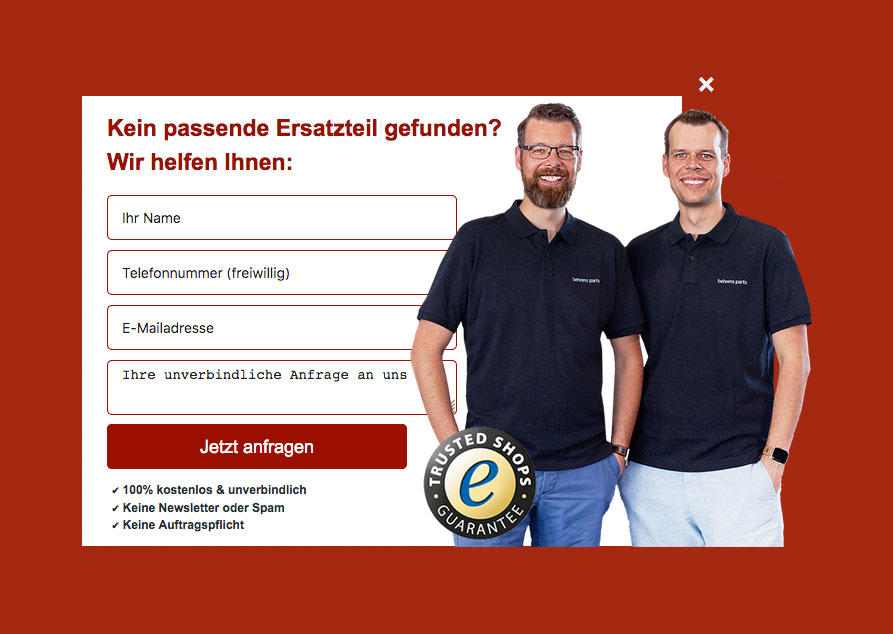
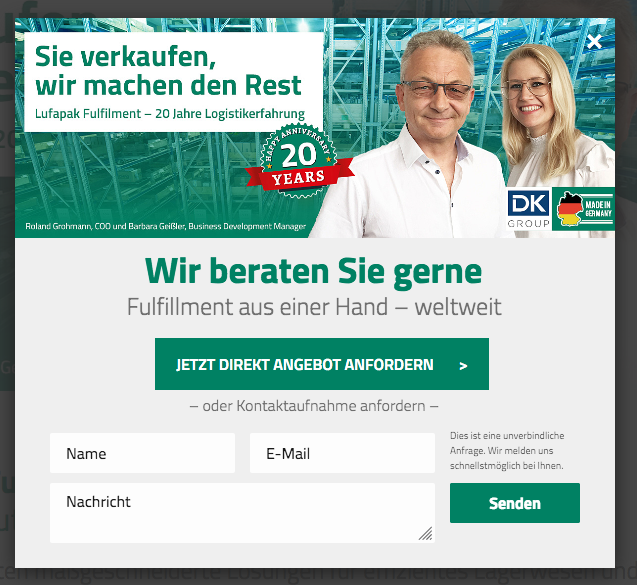
Up to 30% MORE CUSTOMERS with an EXIT INTENT POPUP!
The PopUp & Exit Intent packages for perfect layers

Upon request, the optimized design of a pop-up with unlimited layers can be carried out for you for 85.00 Euro net.
Integration Guide
Führen Sie die folgenden Schritte aus, um das Modul in eine Website einzubetten:
- Stellen Sie sicher, dass Ihre Website jQuery Version 1.8 oder höher lädt.
- Stellen Sie sicher, dass Ihre Website DOCTYPE hat. Wenn nicht, fügen Sie die folgende Zeile als erste Zeile des HTML-Dokuments hinzu: <! DOCTYPE html>
- Kopieren Sie das folgende JS-Snippet und fügen Sie es in die Website ein. Sie müssen es am Ende des-Abschnittseinfügen (über dem schließenden Tag </body>).
<script id="ulp-remote" src="https://jsremote.popups.pictibe.de" data-handler="https://popups.pictibe.de/ajax.php"></script>
- That's it. Integration complete. 🙂
The specific codes and IDs for placing the layers will be sent to you separately via email. Please also refer to the documentation below.
Please note that only IDs provided by us can be used.

Bei Fragen wenden Sie sich bitte an:
E-Mail: fi@vastcob.com
Florian Ibe
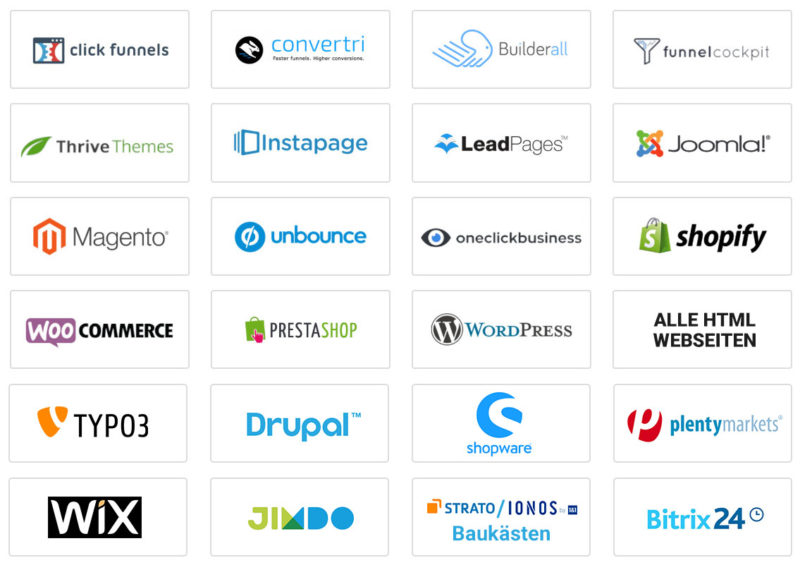
Compatible with ANY CMS, website builder, or page builder!
Add the following JS code to your page if the user should see the popup directly after the page loads. It must be inserted under remote.min.js.
<script>
lepopup_add_event("onload", {
	popup:		"OBJECT1_ID",
	popup_mobile:	"OBJECT2_ID",
	mode:		"every-time",
	period:		5,
	delay:		0,
	close_delay:	0
});
OBJECT_ID = ID which we provide to you
Add the following JS code to your page when the user moves the mouse pointer to the top of the browser window, assuming they are about to leave the page (OnExit popup). It must be inserted below remote.min.js.
<script>
lepopup_add_event("onexit", {
	popup:		"OBJECT_ID",
	mode:		"once-period",
	period:		5
});
</script>
OBJECT_ID = ID which we provide to you
Please remember that you can use ulp_add_event (“onexit”, ..) only once per page. If you insert it multiple times with different parameters, only the last one will work!
Add the following JS code to your page if the user has been inactive for a certain period (see setting variable) and is not using the mouse pointer, touch, or a button (OnInactivity popup). It must be inserted under remote.min.js.
<script>
lepopup_add_event("onidle", {
	popup:		"OBJECT_ID",
	popup_mobile:	"OBJECT2_ID",
	mode:		"once-period",
	period:		5,
	delay:		20
});
</script>
OBJECT_ID = ID which we provide to you
Explanation:
mode = Mode: Select how often the layer(s) (depending on type) should be displayed. You can use one of the following values:
- every-time = every time: The popup will be displayed every time until the user has submitted a subscription form.
- once-session = once per session: The popup will be displayed once per session until the user has submitted a subscription form. A session is a browser session. Normally, the session ends when the user closes the browser. Sometimes it ends when the user restarts the PC.
- once-period = once per period: The popup will be displayed once every X days (defined as a period parameter) until the user has submitted a subscription form.
- once-only = once only: The popup will be displayed only once.
- none = never: The popup will never be displayed.
period = period: Set the period (in days) if the mode is set as a one-time period. This parameter is ignored in all other cases.
popup_mobile: "OBJECT2_ID",A popup defined as popup_mobile will be only displayed on smartphones.
<div class="lepopup-inline" data-id="POPUP_ID"></div>Replace the POPUP_ID with the ID supplied by us.
 DE
DE